Showing posts with label Pure. Show all posts

Friday, October 26, 2012

Pure & Simple - Bloggers Quilt Festival


If this is your first visit, welcome to A Stitch In Time.  I love making new friends in the world of quilters.

I always enjoy participating in the Blogger's Quilt Festival sponsored by Amy and getting inspired by visiting all the other blogs with entries.


My quilt this year is call Pure & Simple.  


The pattern is a modified version of Schnibble Lincoln.  (I modified the proportions of the star block to allow me to make more accurate flying geese.)


My LAQ is Cathy Kirk.   Fabric used is Sweetwater's Pure - this is one of my all time favorite fabric lines.  I love the text print.  


The quilt is queen sized and it looks fantastic on the bed.


The backing fabric - which you can see right below the water mark - is the argyle print from the line.


Blogger’s Quilt Festival Stats
Finished quilt measures : Queen sized
Best Category : Bed Quilt
Happy Stitching!

Friday, September 14, 2012

Pure back from LAQ!

She's home!

Photo shoot coming once the binding is on.  My LAQ (Cathy Kirk) did her usual outstanding job.  She said the quilt got lots of compliments from her other clients while it was on the frame. That made me happy.

I still need a name for this quilt.  I am thinking about Pure & Simple which is one of the phrases that is on that text fabric in the star in the photo.

Happy Stitching!

Wednesday, August 22, 2012

Pure Results

Uncertain about what border to add to my queen size quilt, I blogged about it (link) and got some great ideas. I really appreciate all the comments and suggestions.


While I've not yet decided if I'll use this as a bed or a extra large couch quilt, I decided the border was needed so it could be a bed quilt.  I added a narrow inner band of solid brown from my stash (finishes at 3/4 inch) and then an outer border of my favorite prints from the line (finishes at 3 inches).  


Isn't she a beauty?  I think the border helps frame the quilt nicely.  


And because my DH and DD held the quilt with only minor complaining, I have to include another picture in honor of my quilt models.


Fabric: Sweetwater Pure
Pattern: Schnibble Lincoln (with modifications)

All ready for my LAQ - now I just need to name the quilt!

Happy Stitching!

Thursday, August 9, 2012

Blocks ready to go!

I now have a pile of 41 stars and 80 stripe blocks and ready to assemble my Schnibble Lincoln queen sized quilt.


The actual pattern calls for a 9 by 9 grid but I wanted to do something bigger so I went for 11 by 11.

Too busy?  It looks a bit overwhelming all laid out on my design floor.


I decided to assemble it in pieces - breaking it up into about six sections.  I find this much easier to deal with that doing long rows of 11 blocks.

But, to keep my design safe, I needed to keep the family from stepping on it....  like my solution?


I set up a nice blockade!!! 


Happy Stitching!

Friday, August 3, 2012

Stars and Stripes

My Schnibble Lincoln (queen sized) quilts calls for 41 stars:


and 80 strip blocks.  I cut all my strips and tested everything by making 4 blocks.


This picture doesn't give a very good view of the variety of fabrics - here are 20 of the stars.  Slightly more than half have the same light colored background.  For the rest, I used various fabrics from the line - Sweetwater Pure.


I've an appointment with my LAQ at the end of August.  I think I'll make it.


I've been enjoying the Think Christmas blog hop and today's day five of the!  Grab a cup of Mulled Cider and visit these talented quilters:


(To see the whole week's schedule visit Santa Leslie.)  If you missed it, my entry was here.  Thanks again to everyone who visited and left lovely comments.


Happy Stitching!

Thursday, August 2, 2012

Stripping

Blog post got your attention?


I've made all the 41 stars needed for my queen size Schnibbles Lincoln quilt.  I'm modifying the pattern so that I could use my Wing-Clipper ruler yielding star blocks at 8 1/2 inches.  These means instead of blocks consisting of 3 strips, I needed to go with 4 strips.  (Dividing 8 1/2 by 3 would leave me with odd cutting widths so I went with a standard 2 1/2 inch strip instead.)   Fabric is Sweetwater Pure.


Did a few sample blocks and now off to zip through the rest (at least I hope so!)


Thank you for all the wonderful comments from my day at the Think Christmas blog hop.


Today's day four of the Think Christmas blog hop!  Grab a cup of Hot Chocolate and visit these talented quilters:


(To see the whole week's schedule visit Santa Leslie.)  

Happy Stitching!

Saturday, July 14, 2012

FNSI Results - Pure Stars

Happy FNSI!


I had fun last night working on my stars for my new quilt for my bed.


The fabric is Sweetwater Pure from the stash I've been hoarding.  The pattern is a Scnibbles Lincoln modified.  I wanted to use my wing clipper ruler for the geese which meant I am making the stars slightly different size that Carrie's pattern suggests.  There are roughly 40 of these required for the quilt.  The other blocks are strip blocks so will hopefully go quickly.


Looking forward to seeing everyone else'e FSNI results!


Happy Stitching!

Friday, June 15, 2012

Pure Star

The cutting has begun.   Many of the stars will have this same background but I will be mixing it up!


One star done.... loving it!


Fabric is Sweetwater Pure (from my stash).  Pattern is a modification of Lincoln from Another Bit of Schibbles.


Happy Stitching!

Monday, June 11, 2012

Pure fun!


Friday night's Sound of Music sing-a-long was a lot of fun.  It was a beautiful night to sit outside, picnic and sing along!   Some people came in costume.  These are some of the best ones.  Looking at the photo from the left, you've a marionette.   In the bottom row (2nd from left) is a needle pulling thread  and then on the right, you've got two guys in yellow (ray of golden sun).  The guy in the full yellow body suit was quite funny.  There were also many a nun with quite an abundance of facial hair!


One more - from Favorite things - see the snowflake on eyelashes?


Finally, a bit more sewing time that last weekend.  I cut into my Pure layer cake.....  let the fun begin!


Happy Stitching!

Friday, May 25, 2012

Pure ... Obsession?

(To enter my SMS Giveaway for a charm pack of Fig Tree Strawberry Fields, go here.)


I started my quilting journey in earnest a few years ago and one of the first fabric lines that completely caught my fancy was Sweetwater's Pure.


So I bought two charmpacks and a layer cake and a jelly roll.   I used the jelly roll right away and made bags.


I then decided to collect 'some' of the fabric and stockpile so I could make a queen size quilt.  


Along with 2 charm packs (which I'll save for AYOS) and a layer cake, here is what I have:


3 yards of this argyle print - not quite enough for backing


2 yards cuts of these:


1 yard cuts of these:


and these array of fat quarters\


I decided to make a queen sized version of Schnibble Lincoln - I'll need 25 star blocks and 56 strip blocks.  The Schnibble book calls for 2 layer cakes for a quilt which is 7 by 7 blocks.  Mine will be 9 by 9 blocks.  My guess is that I have more that enough fabric but before I cut anything, I'm off to carefully calculate and plan it all out.


Happy Stitching!
Sunday, November 7, 2010

Bag tutorial


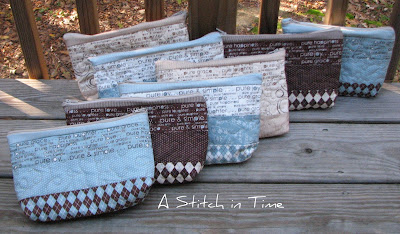
To make these bags, I used strips from Pure by Sweetwater.   Each 3 strips will make 2 bags.  I am making 8 bags as Christmas gifts so I have an assemble line going!


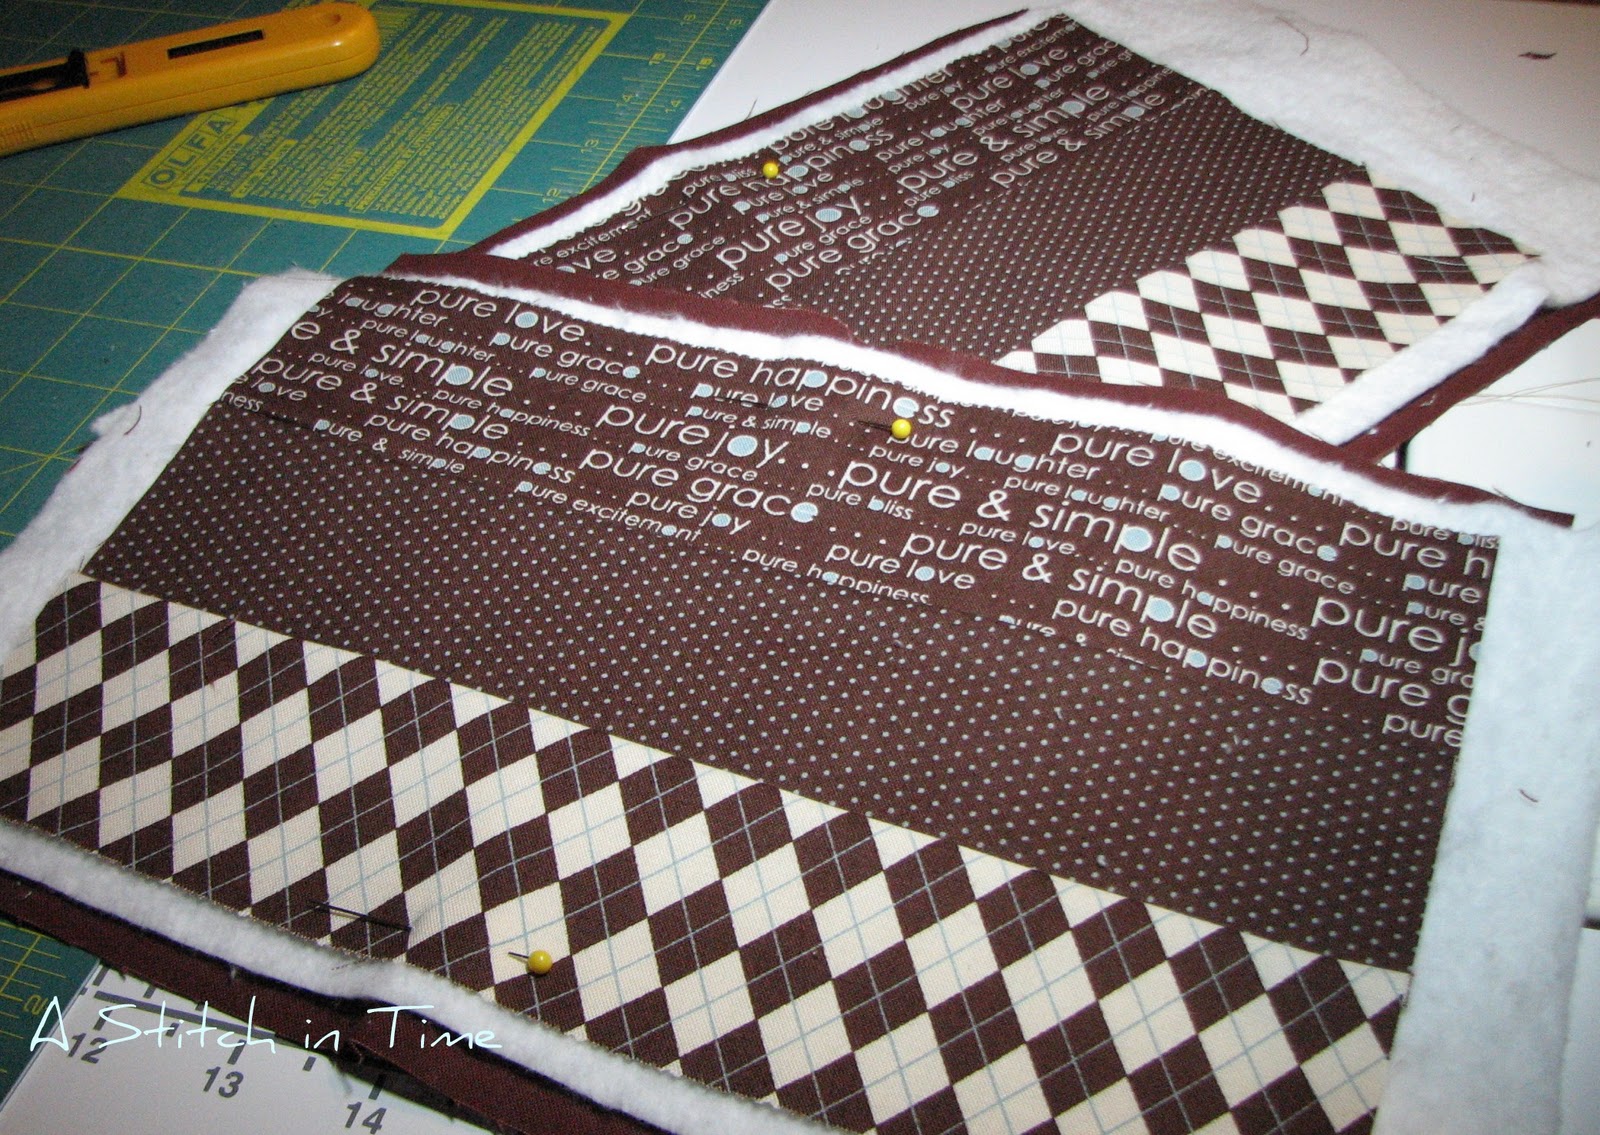
Step 1:  Cut your jelly roll strips in half (roughly 22 inches long) and put together combinations that you find pleasing.  I made each bag so the top strip had the words.


Step 2: For each bag, sew together 3 of the 22 inch strips. Then cut in half to form the front and back of the back.  Each piece is now roughly 6 1/2 in by 11 inch.   Press.   Layer for quilting.  I used solids for the back which will become the inside of the bag.


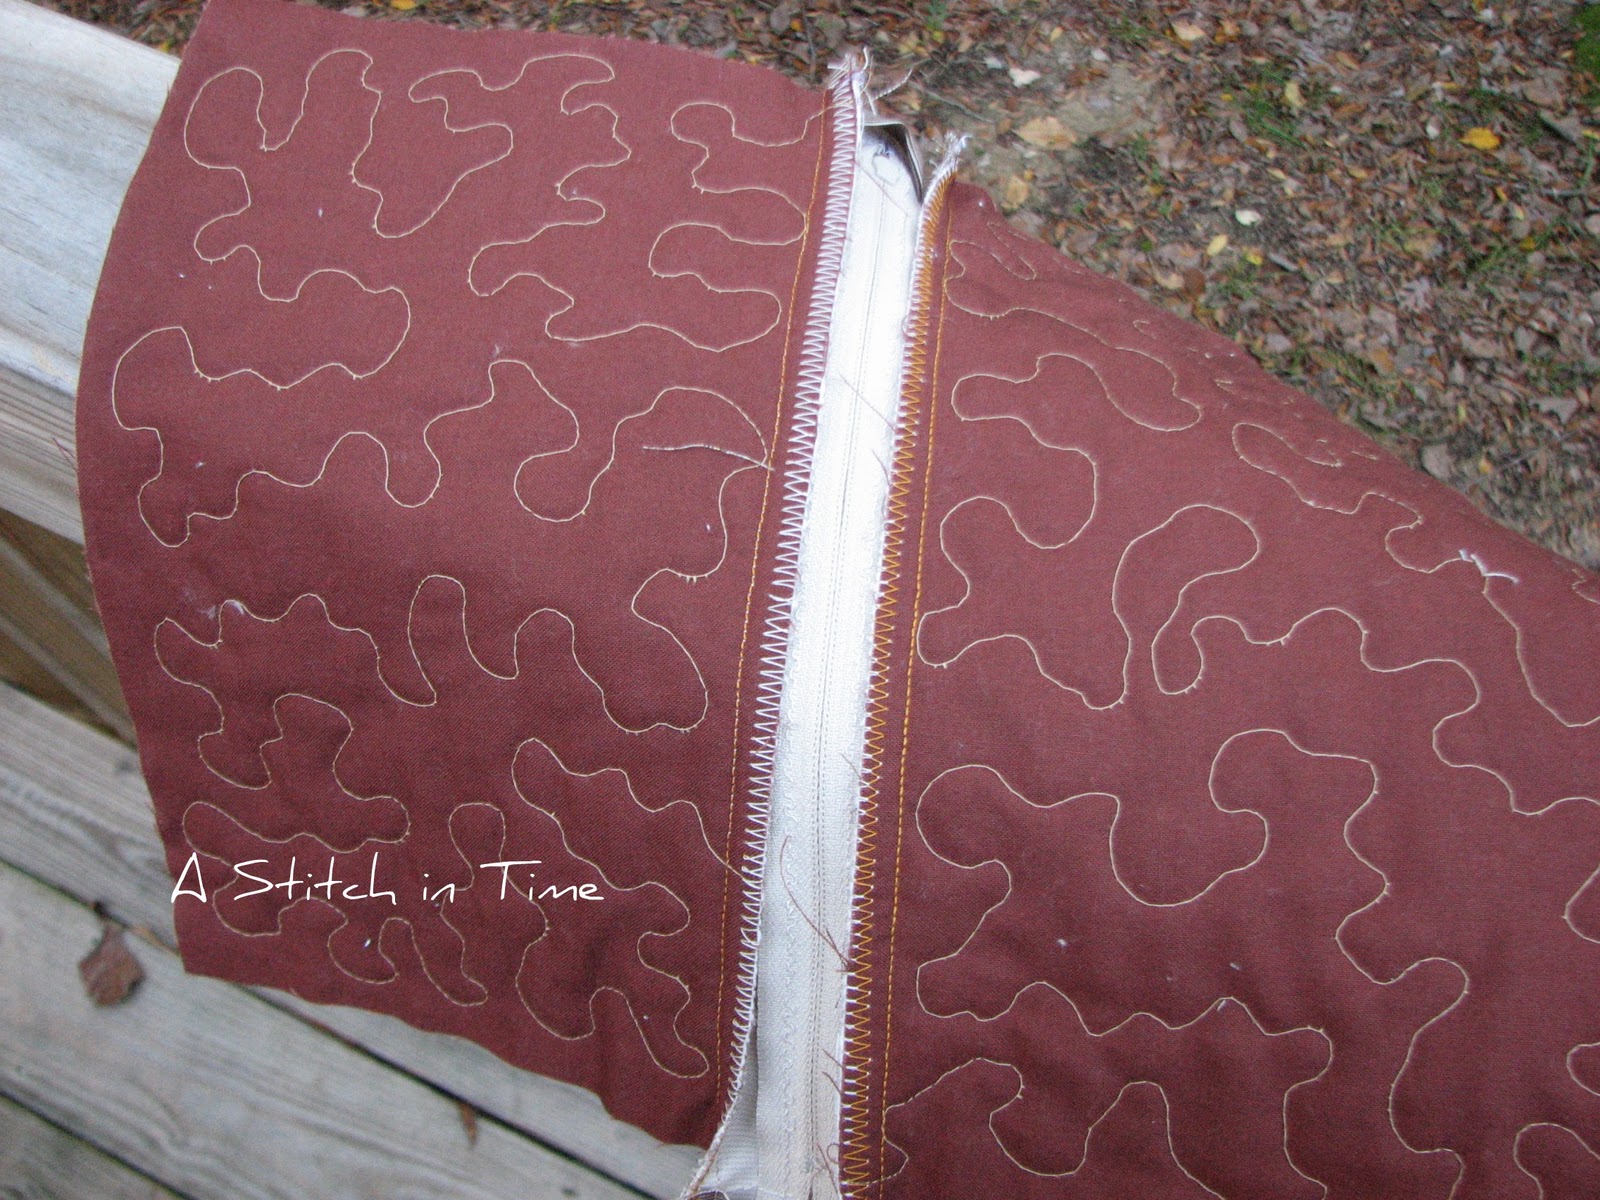
Step 3: Quilt!   I did loops on some, basic stipple on the other.  These make for good free motion practice opportunities so have some fun!  Trim excess.


Step 4: Prepare the zipper.  You could choose to connect the zipper directly but I decided to make a casing for the zipper to make the finished bag look more professional.   To do this, I cut another jelly roll strip in half lengthwise and then sewed a 1 1/4 in x 7 in strip of fabric (right sides together) to the zipper sides


.
When that was done, I sewed a small rectangle to the top and the bottom.  See my pretty stack of zippers!


Step 5: Attach the zipper to each side of the bag by sewing right sides together.   Shown below is a front and back view.  


Step 6: Right sides together, lining up the seams of your 3 strips, sew around the bag on 3 sides.  Important tip- OPEN THE ZIPPER a bit before you sew the 3 sides!    I finish off the edges with a zigzag stitch all around.  


One bag all done - only 7 more to go!!!

I am making these as holiday gifts for each of my sisters and sister in law.

I'd love to hear from you - please comment and let me know what you think of my very first tutorial.  I also posted this at Sew and Tell.

Happy Stitching!